Royal icing is one of the most versatile and iconic icings in the world of baking. Whether you’re decorating festive cookies, creating intricate lace designs on wedding cakes, or crafting delicate sugar flowers, royal icing is the foundation that makes it possible.
In this guide, I’ll walk you through everything you need to know—from its history to practical step-by-step methods, expert tips, and troubleshooting. If you’ve ever wondered how to make royal icing or wanted to master decorating with it, you’re in the right place.
Introduction to Royal Icing
Royal icing has a rich history that dates back to the seventeenth century, where it was often used to decorate elaborate cakes for royalty and grand celebrations—hence its name. Queen Victoria’s wedding cake is perhaps the most famous early example, covered in a pristine layer of royal icing that gave it a striking, elegant look. Over the centuries, it has become a staple in European baking traditions, and today it is cherished by both professional bakers and home enthusiasts across the globe. Its appeal lies in its versatility: it can be piped into the most delicate patterns, used to create edible sculptures, or simply applied as a smooth glaze to cookies and cakes.
Uses of Royal Icing in Baking
.jpg)
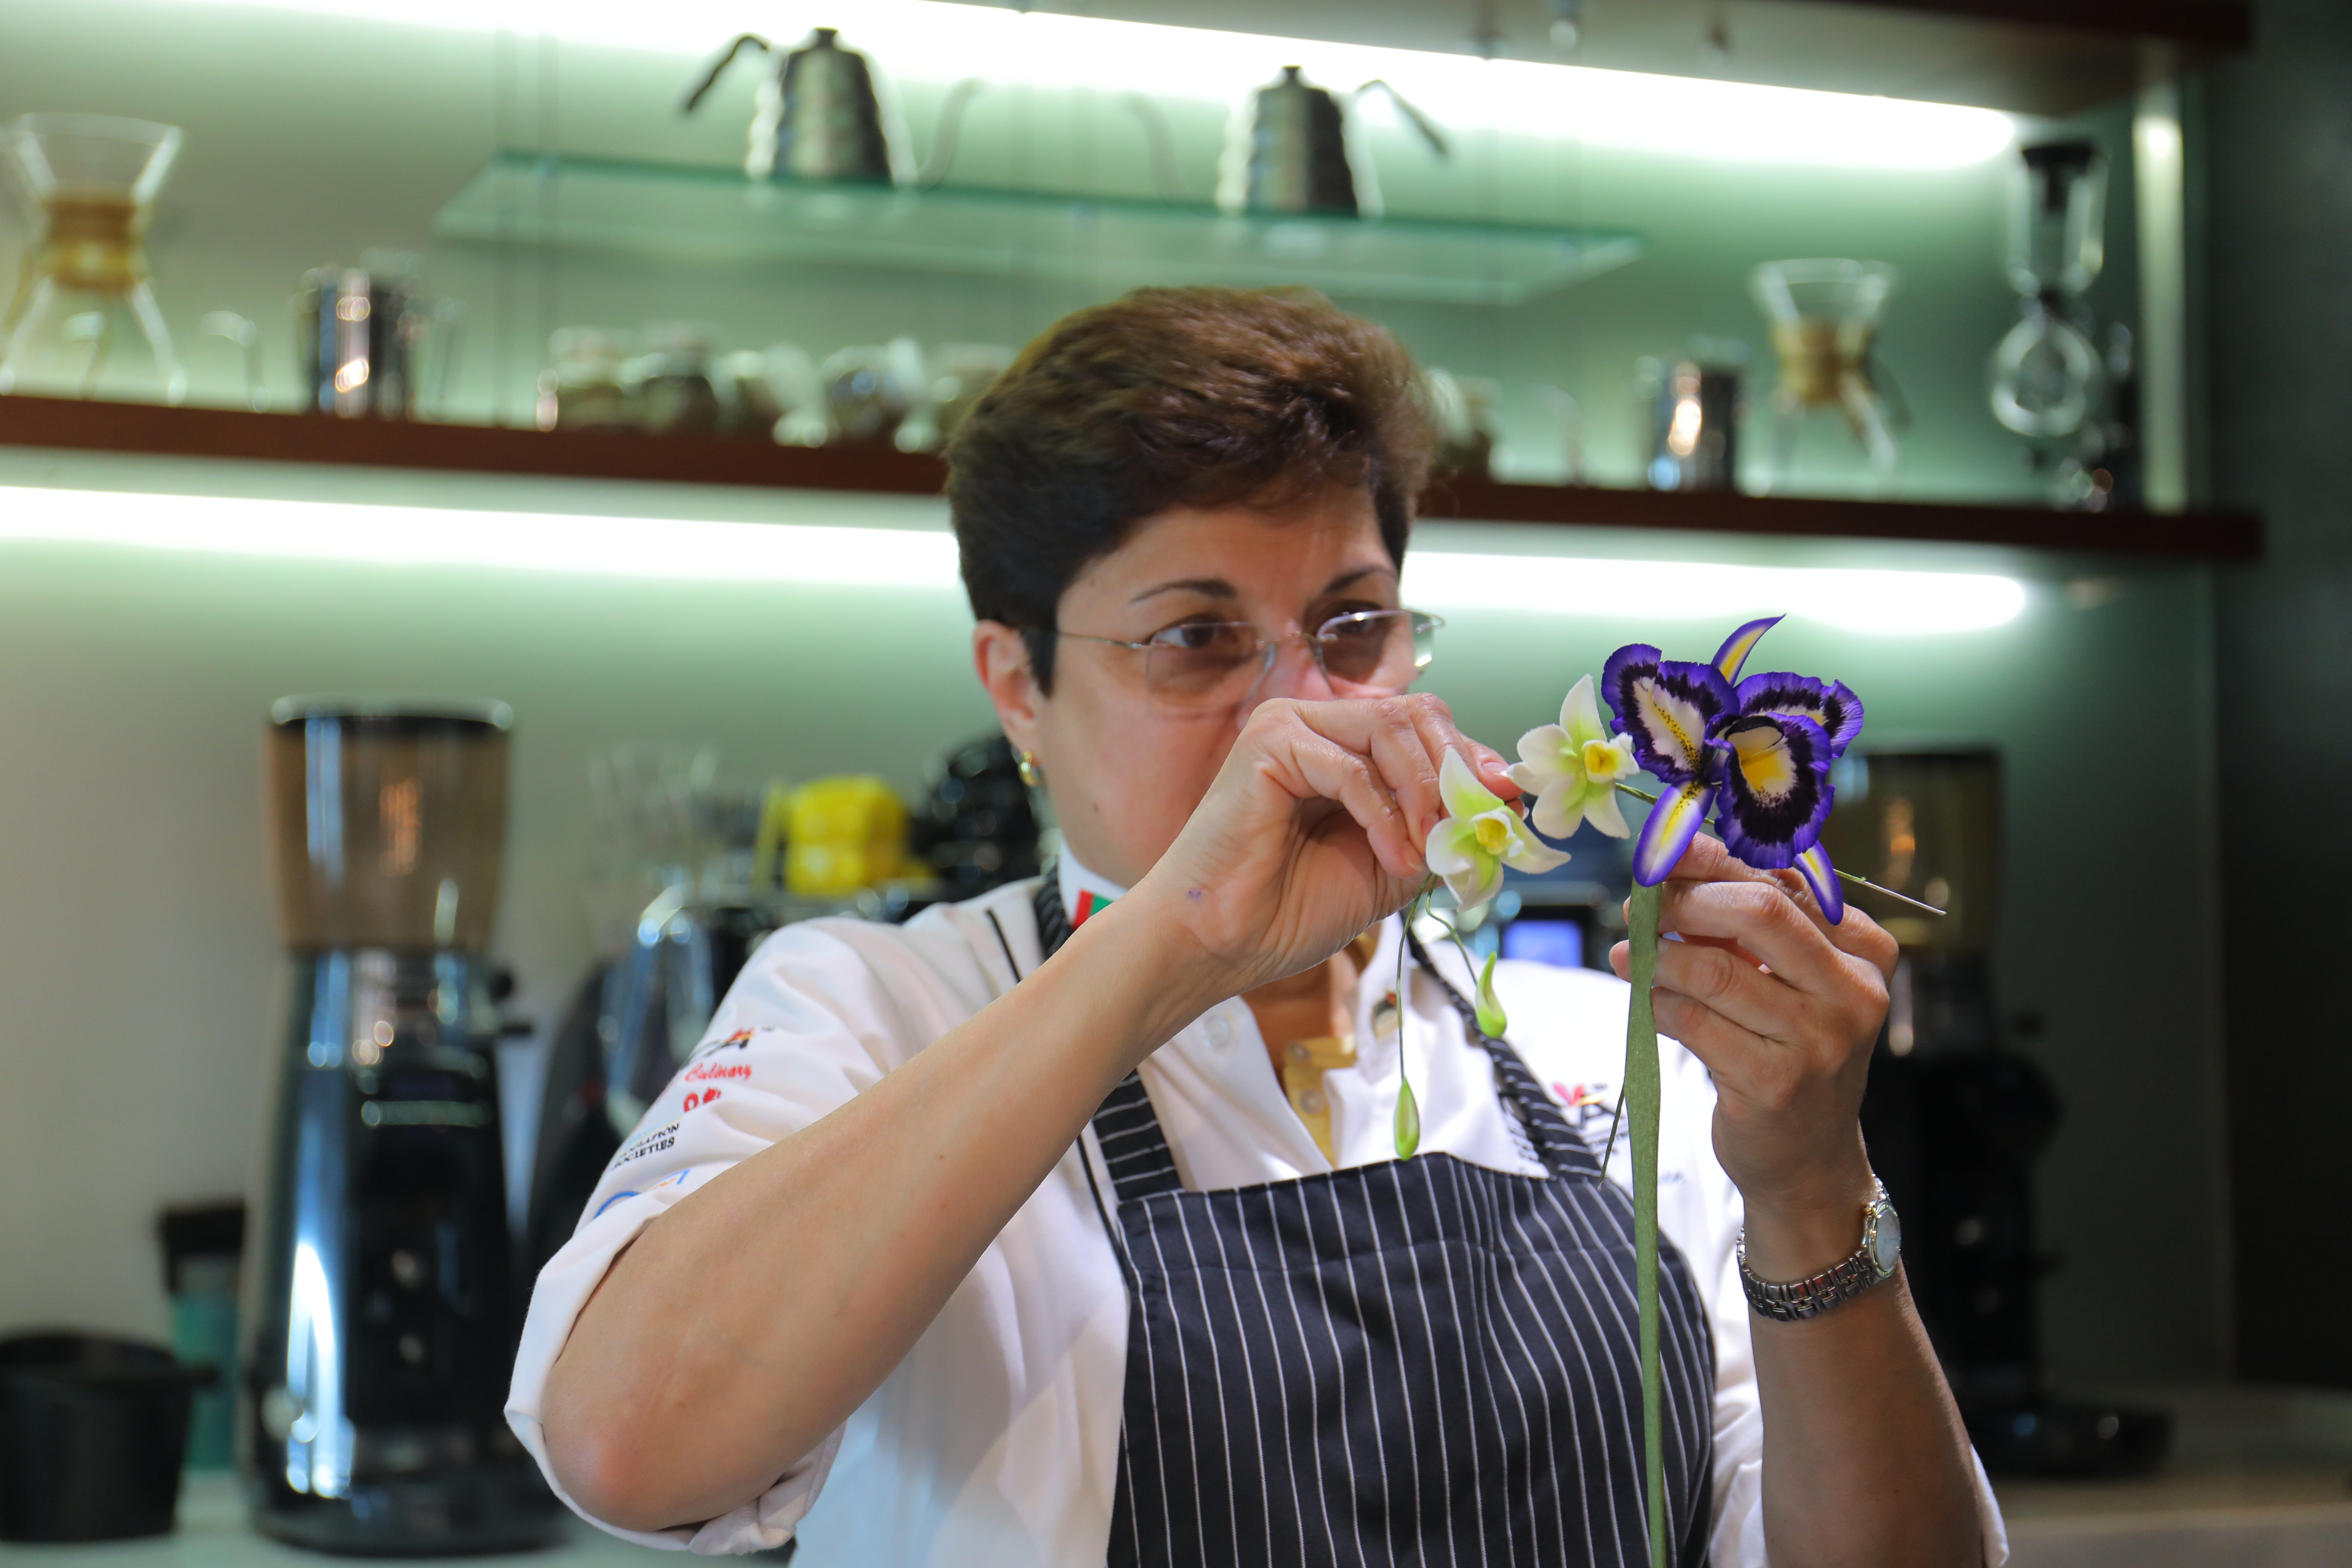
One of the reasons royal icing is so popular is its ability to adapt to different purposes in the kitchen. On cookies, it is commonly used for outlining and flooding, giving decorators a canvas to create colorful and detailed designs. During the holiday season, it becomes essential for constructing gingerbread houses, not only because it holds like glue but also because it can be used to pipe snowy rooftops and frosty icicles. On cakes, royal icing lends itself to more sophisticated work, such as piping intricate lace borders or forming delicate flowers that dry into beautiful, lasting decorations. For those who enjoy sugar art, it can even be shaped into three-dimensional sculptures and transfers that add dramatic flair to any dessert display.
Essential Ingredients and Tools
At its core, a royal icing recipe is beautifully simple: just powdered sugar, egg whites, and a touch of flavoring. The egg whites act as a binding agent, giving the icing its strength and smooth texture. Many modern bakers opt for meringue powder as a safer, more convenient substitute that eliminates concerns about raw egg whites while still providing stability. Flavorings such as vanilla, almond, or citrus extract can be added to enhance the taste of royal icing. However, it is important to choose oil-free, alcohol-free flavorings that are Halal certified, as oil-based or alcohol-based extracts may interfere with the icing’s ability to set properly. Many baking suppliers now provide concentrated gel-based flavors that work perfectly with royal icing while meeting dietary requirements.
Equally important are the tools used to work with royal icing. Piping bags and a variety of decorating tips are essential for different styles, from fine outlining to broad flooding. A scribe tool or even a toothpick is often used to guide the icing into place and smooth out air bubbles. A stand mixer makes the process more efficient, ensuring the icing is whipped to the correct consistency, while airtight containers are crucial for storage, since royal icing dries quickly when exposed to air.
How to Make Royal Icing: Step-by-Step
The traditional method for making royal icing begins with whisking egg whites until they are slightly frothy, then gradually adding sifted powdered sugar until the mixture becomes thick, glossy, and holds stiff peaks. A splash of lemon juice or cream of tartar is often added for stability. If using meringue powder, the process is very similar—mixing the powder with water before adding sugar and beating until the icing reaches the desired texture.
In recent years, vegan bakers have embraced aquafaba, the liquid from canned chickpeas, as a substitute for egg whites. Its ability to whip up into stiff peaks makes it a surprisingly effective alternative, giving royal icing recipes a plant-based twist. Regardless of which method you choose, the key lies in mixing until the icing is smooth and firm enough to hold its shape while still pliable enough to pipe.
Achieving the Right Icing Consistency
Consistency is everything when working with royal icing, and understanding it is the difference between a clean design and a frustrating mess. Stiff consistency is used for flowers, borders, and designs that require the icing to hold its shape. Piping consistency is slightly softer, ideal for outlining shapes on cookies or writing text. Flood consistency, the thinnest of all, spreads easily to fill in areas, creating the glossy, smooth surfaces that make decorated cookies look so polished.
A popular way to test flood consistency is the ten-second rule: when you run a spoon through the icing, the line should disappear in about ten seconds. If it disappears faster, the icing is too thin; if it takes longer, it needs a drop or two of water to loosen. This attention to detail ensures that your icing behaves exactly as you need it to for each stage of decorating.
Coloring and Flavoring Royal Icing
One of the joys of decorating with royal icing is the ability to bring cookies and cakes to life with vibrant colors. To achieve the best results, gel food coloring is recommended over liquid versions, as liquid coloring can thin the icing and alter its consistency. Gels allow you to create bold shades with only a small amount, which is especially important when you need multiple colors for detailed designs.
Flavoring royal icing is also a way to add subtle personality to your creations. A hint of almond extract can give decorated cookies a sophisticated touch, while citrus extracts like lemon or orange add freshness that pairs well with buttery sugar cookies. Vanilla remains the classic choice, offering warmth without overpowering the other flavors of the baked goods.
Decorating Techniques for Cookies and Cakes

The most common decorating technique with royal icing is outlining and flooding. Outlining establishes a border that prevents the icing from running over the edges, while flooding fills in the design with a smooth layer. From there, decorators can experiment with more advanced methods. Wet-on-wet designs, for instance, involve piping different colors onto wet icing, allowing them to blend into patterns like marbling or polka dots. Brush embroidery creates a lace-like effect by dragging a damp brush through piped icing.
Royal icing is also the medium of choice for intricate lacework on wedding cakes, delicate floral designs, or even elaborate showpieces in professional competitions. With patience and practice, it can transform the simplest cookie into a small work of art.
Drying and Storing Royal Icing Creations
One of the defining features of royal icing is its ability to dry hard, but this process depends heavily on environmental conditions. Humidity can slow drying significantly, while a dry, airy environment allows designs to set within a few hours. For best results, decorated cookies should be left out at room temperature for at least six to eight hours, or overnight, before being stored.
Once fully dry, cookies or cakes decorated with royal icing should be stored in airtight containers to maintain freshness. If you are working on a tight timeline, a fan or food dehydrator can help speed up the drying process. Properly dried royal icing not only looks beautiful but also holds up well for transport and display.
Troubleshooting Common Royal Icing Problems
Even the most experienced bakers encounter challenges with royal icing. If your icing refuses to harden, it is often due to too much humidity or excess liquid in the recipe. Color bleeding occurs when additional layers are applied before the base has dried properly, so patience is essential. Air bubbles, another common issue, can be minimized by stirring the icing slowly before piping and popping them with a scribe tool as they appear. Craters or cracks in piped designs are usually caused by under-mixed icing or icing that is too thin, both of which can be corrected with small adjustments to mixing and consistency.
Advanced Decorating Ideas and Trends
As baking trends evolve, royal icing remains at the forefront of creativity. Holiday-themed cookies, from snowflakes at Christmas to hearts on Valentine’s Day, are timeless favorites. For weddings, lace piping and monogrammed cookies continue to be in demand. More adventurous decorators are experimenting with three-dimensional cookie constructions, metallic finishes using edible gold and silver dust, and even royal icing transfers that can be piped in advance and later applied to cakes or cookies.
Expert Tips for Professional-Quality Icing
The little details make a big difference in the outcome of your work. Always sift powdered sugar before mixing to avoid lumps that could clog piping tips. Cover bowls of icing with a damp cloth when not in use to prevent it from crusting. Work in small batches to ensure consistent texture, and don’t be afraid to practice on parchment paper before decorating cookies or cakes directly. Professional decorators often recommend starting simple and gradually adding complexity as your confidence grows.
Storing and Preserving Royal Icing
Royal icing itself can be stored short-term in airtight containers at room temperature for a day or two, or refrigerated for up to a week. For longer preservation, it can be frozen in sealed piping bags or airtight containers for up to three months. When thawed, a quick stir or re-whip usually restores it to the proper consistency. This makes it easy to prepare batches in advance for large decorating projects.
Showcasing Your Work: Photography & Social Media
Once you’ve invested time and creativity into decorating with royal icing, showcasing your work is the next step. Good photography makes all the difference. Natural light, neutral backgrounds, and close-up shots highlight the details of your designs. Sharing on platforms like Instagram, TikTok, or Pinterest not only allows you to connect with the baking community but can also help you build an audience if you wish to turn your passion into a business. Hashtags such as #royalicingcookies and #cookieart attract enthusiasts worldwide and can even lead to collaborations or commissions.
Learn Professional Cake & Cookie Decorating at ICCA Dubai
Royal icing allows bakers to express creativity, precision, and artistry. Once you understand how to make royal icing, master its consistencies, and experiment with techniques, you’ll discover that the possibilities are nearly endless. From simple sugar cookies to elaborate wedding cakes, royal icing can transform baked goods into edible works of art.
Explore our Professional Diploma in Baking and Patisserie and Artisanal Baking Programs at ICCA Dubai and start your journey today.

.jpg)
.jpg)
.jpg)


.jpg)