There’s something almost magical about the sizzle that hits the pan when a juicy steak or or even a crisp piece of cauliflower hits a hot pan. That sound, that aroma, marks the start of searing, one of the most essential and often misunderstood cooking techniques in any kitchen.
But does searing really “lock in the juices”? Or is that just a well-loved kitchen myth? And what’s really happening when your food develops that perfect crust?
Let’s break it down. In this post, we’ll understand what searing truly is, explore the science behind it, and offer practical tips for mastering this technique every time. Whether you're a curious home cook, an aspiring chef, or just someone who appreciates good food, this is your go-to guide to understand how to lock in flavor using the power of heat and science.
1. What Is Searing?
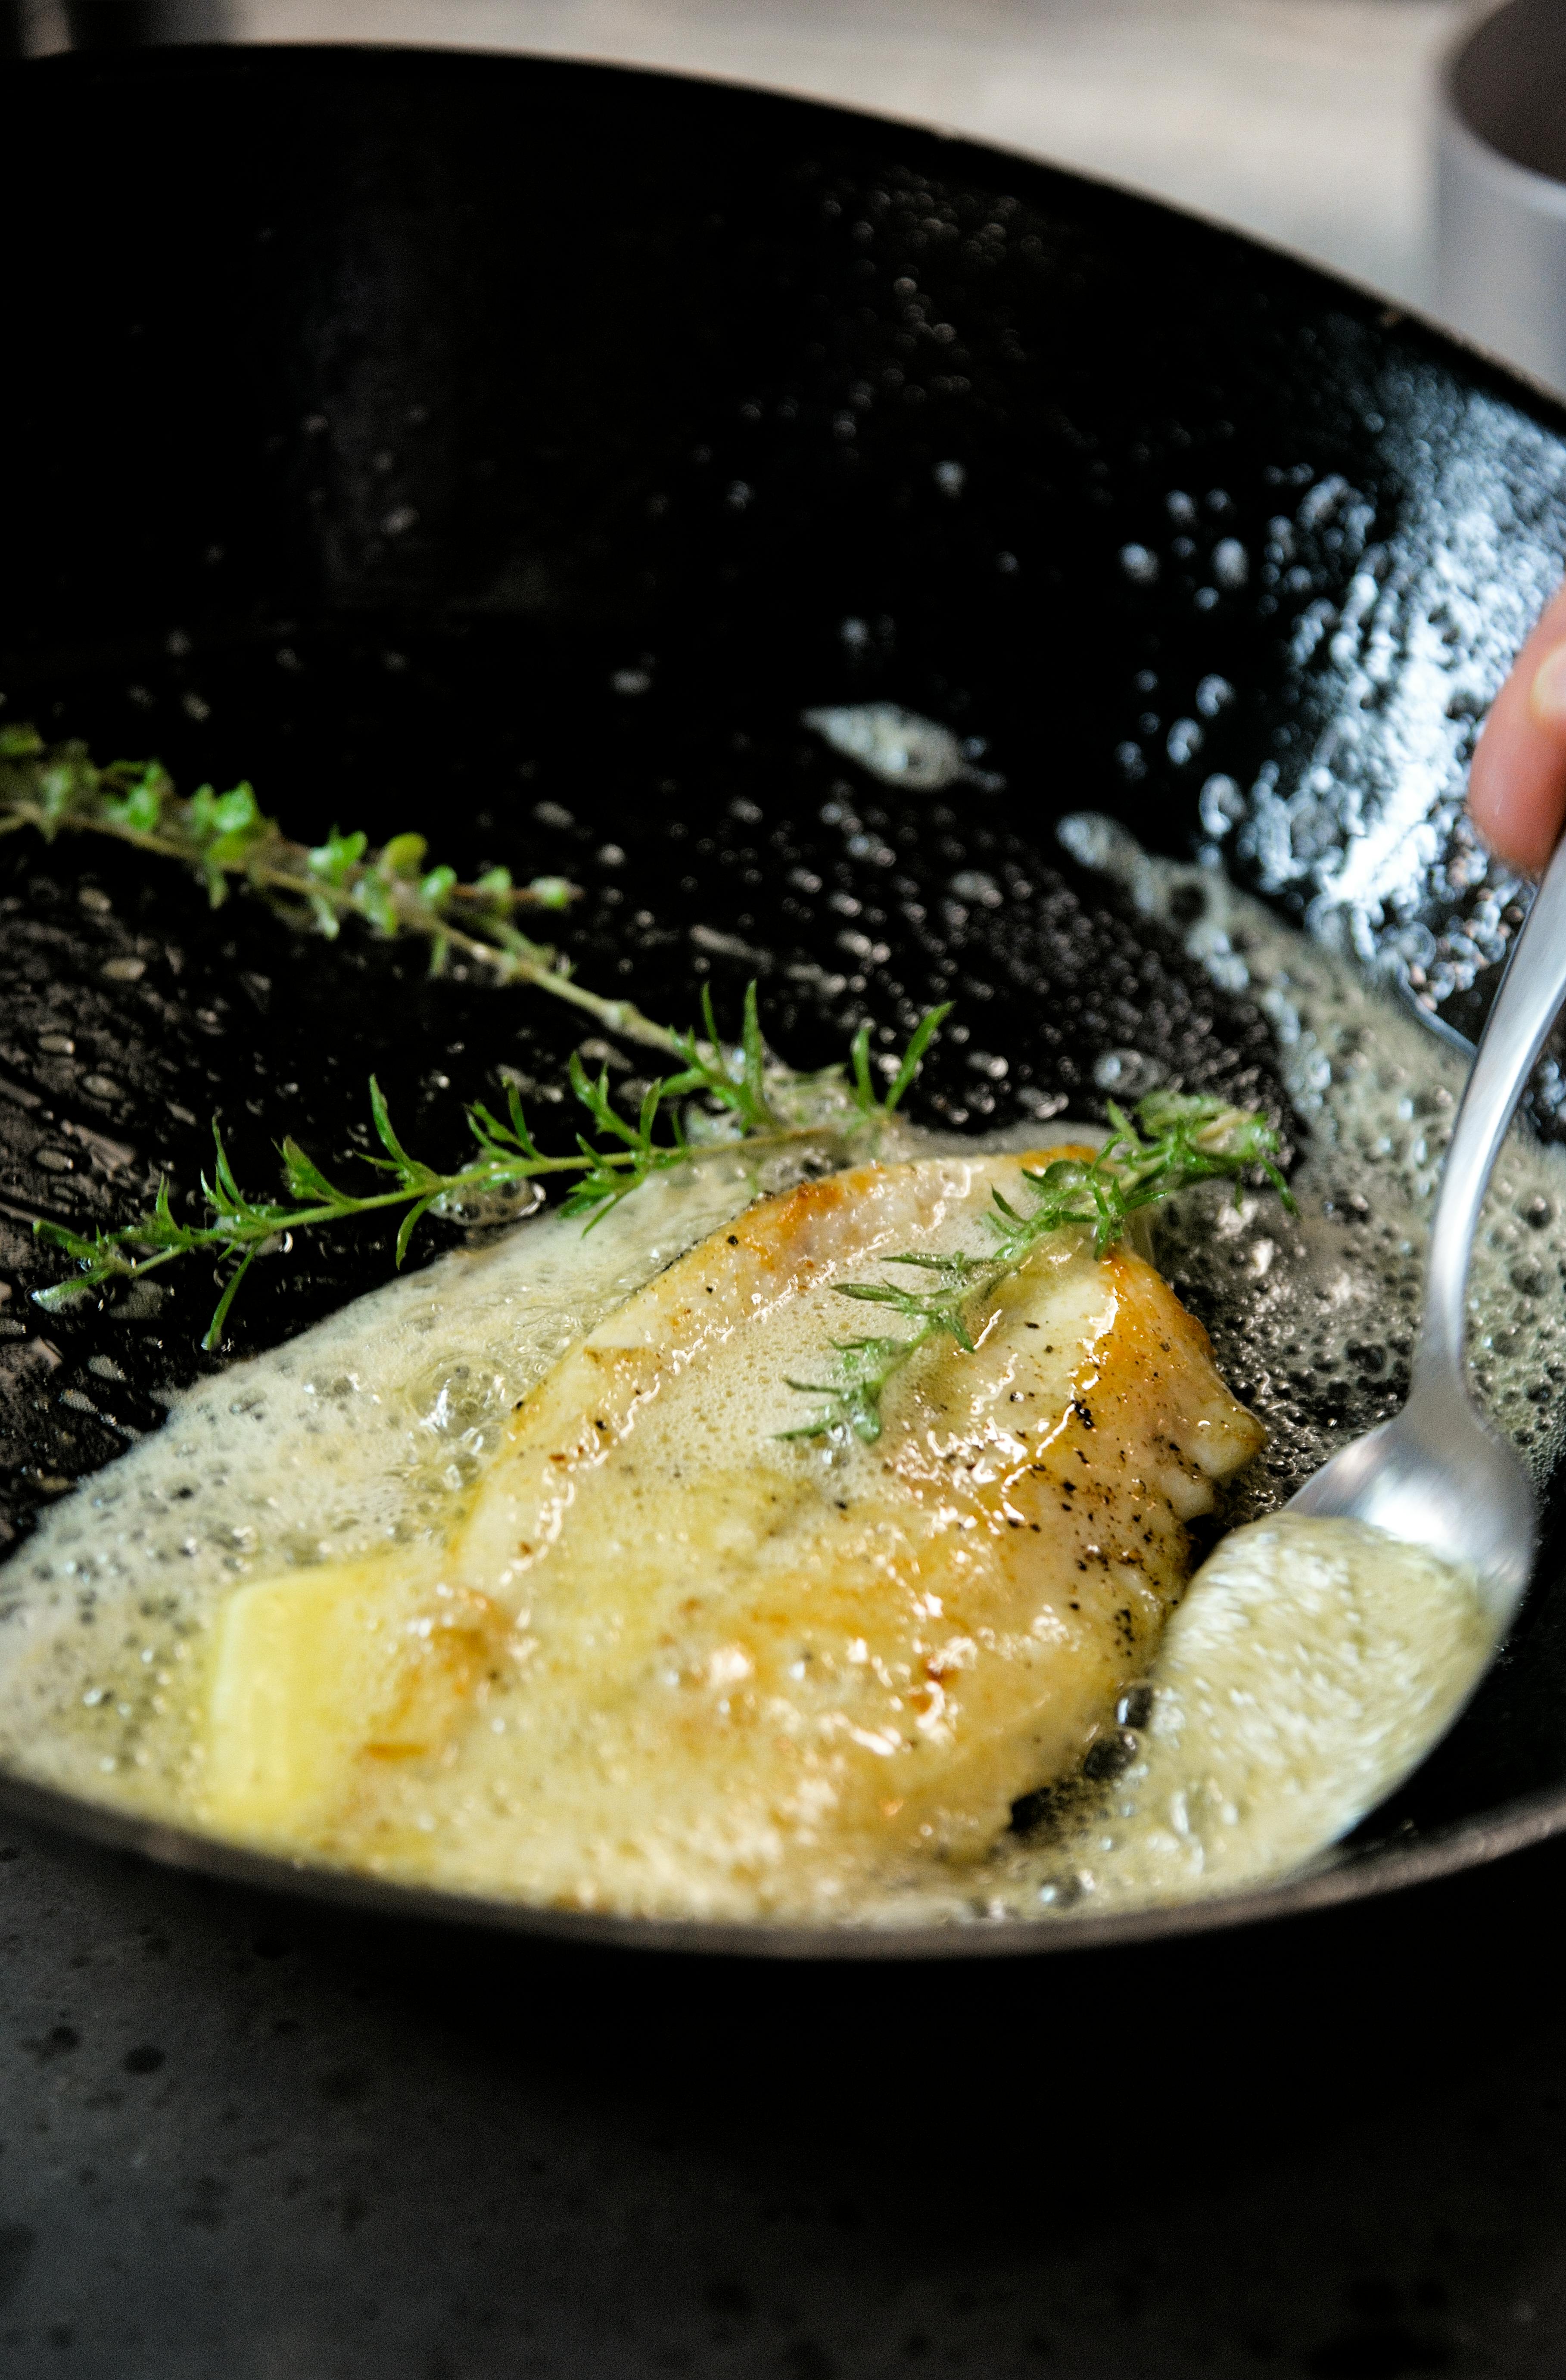
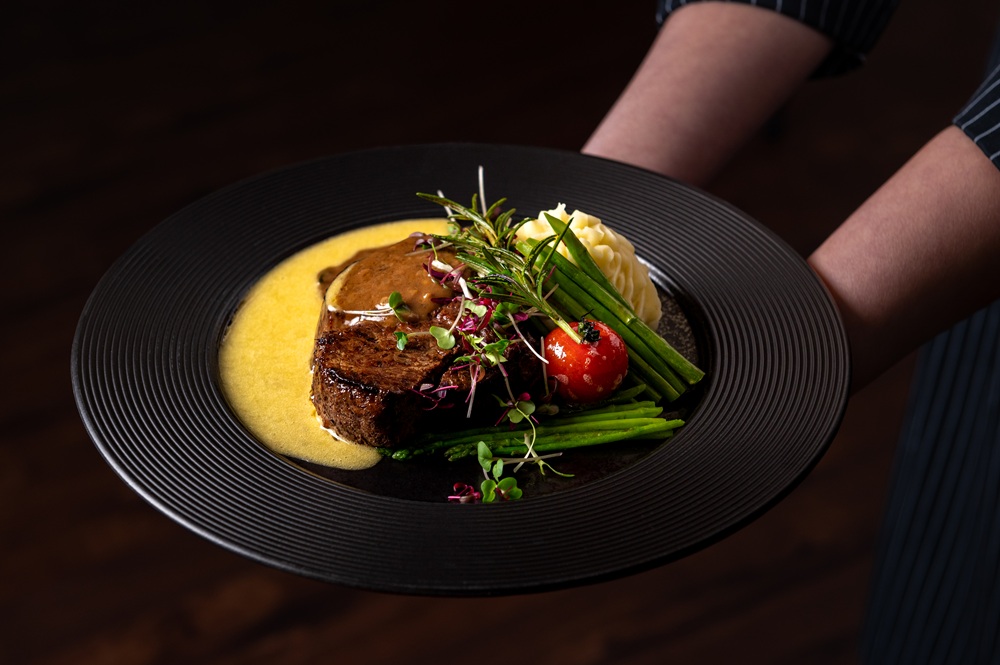
Searing is a high-heat cooking method used to create a browned, caramelized crust on the outside of food, usually meats, but also vegetables, fish, and plant-based proteins. It’s not meant to fully cook the food but rather helps enhance flavor and texture at the beginning or end of a cooking process. When done correctly, searing develops a flavorful crust while keeping the inside tender and juicy. The crisp exterior not only improves texture but also adds a rich, savory depth that boiling or steaming simply can’t achieve.
The Maillard Reaction: The Secret Behind the Crust
The golden-brown color and deep flavor produced during searing come from a chemical process known as the Maillard reaction. This reaction occurs when amino acids and sugars interact at high temperatures (typically above 285°F or 140°C), forming hundreds of new flavor compounds. This is the same process responsible for the browning of bread crusts, roasted coffee, and grilled meat. It’s a key reason why seared food tastes so good.
2. The Science Behind Searing: How Flavor Gets Locked In
One of the most common myths in cooking is that searing "seals in juices." While it's a nice idea, it’s not scientifically accurate. In reality, searing can cause some moisture loss. However, what it does do is significantly enhance flavor and texture, so much so that the dish often tastes juicier and more satisfying.
Here’s why:
- The Maillard reaction creates hundreds of new aroma and flavor compounds.
- A well-seared surface provides contrast in texture, crisp on the outside, tender inside.
- The flavorful crust complements sauces, sides, and seasonings.
Searing transforms simple ingredients into complex, crave-worthy dishes through the power of food chemistry.
3. Step-by-Step Guide: How to Sear Like a Pro
Mastering searing comes down to preparation, temperature, and timing. Here's how to do it right:
Choose the Right Pan
Use heavy-duty pans like cast iron or stainless steel. These retain and distribute heat evenly, making them ideal for achieving a strong sear.
Prep the Food
- Dry the surface: Moisture is the enemy of browning. Pat meat or vegetables dry with paper towels before cooking.
- Season smartly: Salt and pepper enhance the crust. Avoid wet marinades just before searing, as they cause steam.
Preheat Thoroughly
Heat your pan until it’s very hot, just below the smoking point of your cooking oil. Add a high-smoke point oil like canola, grapeseed, or avocado.
Don’t Crowd the Pan
Give each piece of food space to breathe. Overcrowding lowers the pan temperature, leading to steaming instead of searing.
Let It Rest
Once the food is in the pan, leave it undisturbed until a crust forms. Moving or flipping too early prevents browning.
4. Common Mistakes and How to Avoid Them
Even experienced cooks can make missteps when searing. Avoid these pitfalls:
- Overcrowding: This causes the pan to cool down and leads to steaming instead of searing.
- Low heat: Searing requires high temperatures. Preheating is essential.
- Wet surface: Any moisture prevents browning and promotes sogginess.
- Constant flipping: Let the crust develop before turning the food.
Small adjustments in technique can drastically improve your results.
5. Bonus Tips: Enhancing Flavor After Searing
Once you’ve achieved that perfect crust, take things further with these advanced flavor-enhancing techniques:
Deglaze the Pan
After searing, flavorful bits (called fond) stick to the pan. Add wine, broth, vinegar, or even water to dissolve the fond and create a delicious pan sauce.
Rest Your Meat
Allow meat to sit for 5–10 minutes after searing. This helps juices redistribute evenly, resulting in a more succulent bite.
Combine with Other Cooking Methods
For thicker cuts, sear first and finish in the oven (or vice versa). This ensures both a flavorful crust and an evenly cooked interior.
Whether you’re preparing a steak, mushrooms, or tofu, searing is your secret weapon for creating texture, aroma, and richness that lingers long after the last bite.
Love diving into the ‘why’ behind great cooking? Explore our Professional Diploma Programs to master not just the techniques, but the science that makes food truly unforgettable.


.jpg)
.jpg)
.jpg)


.jpg)