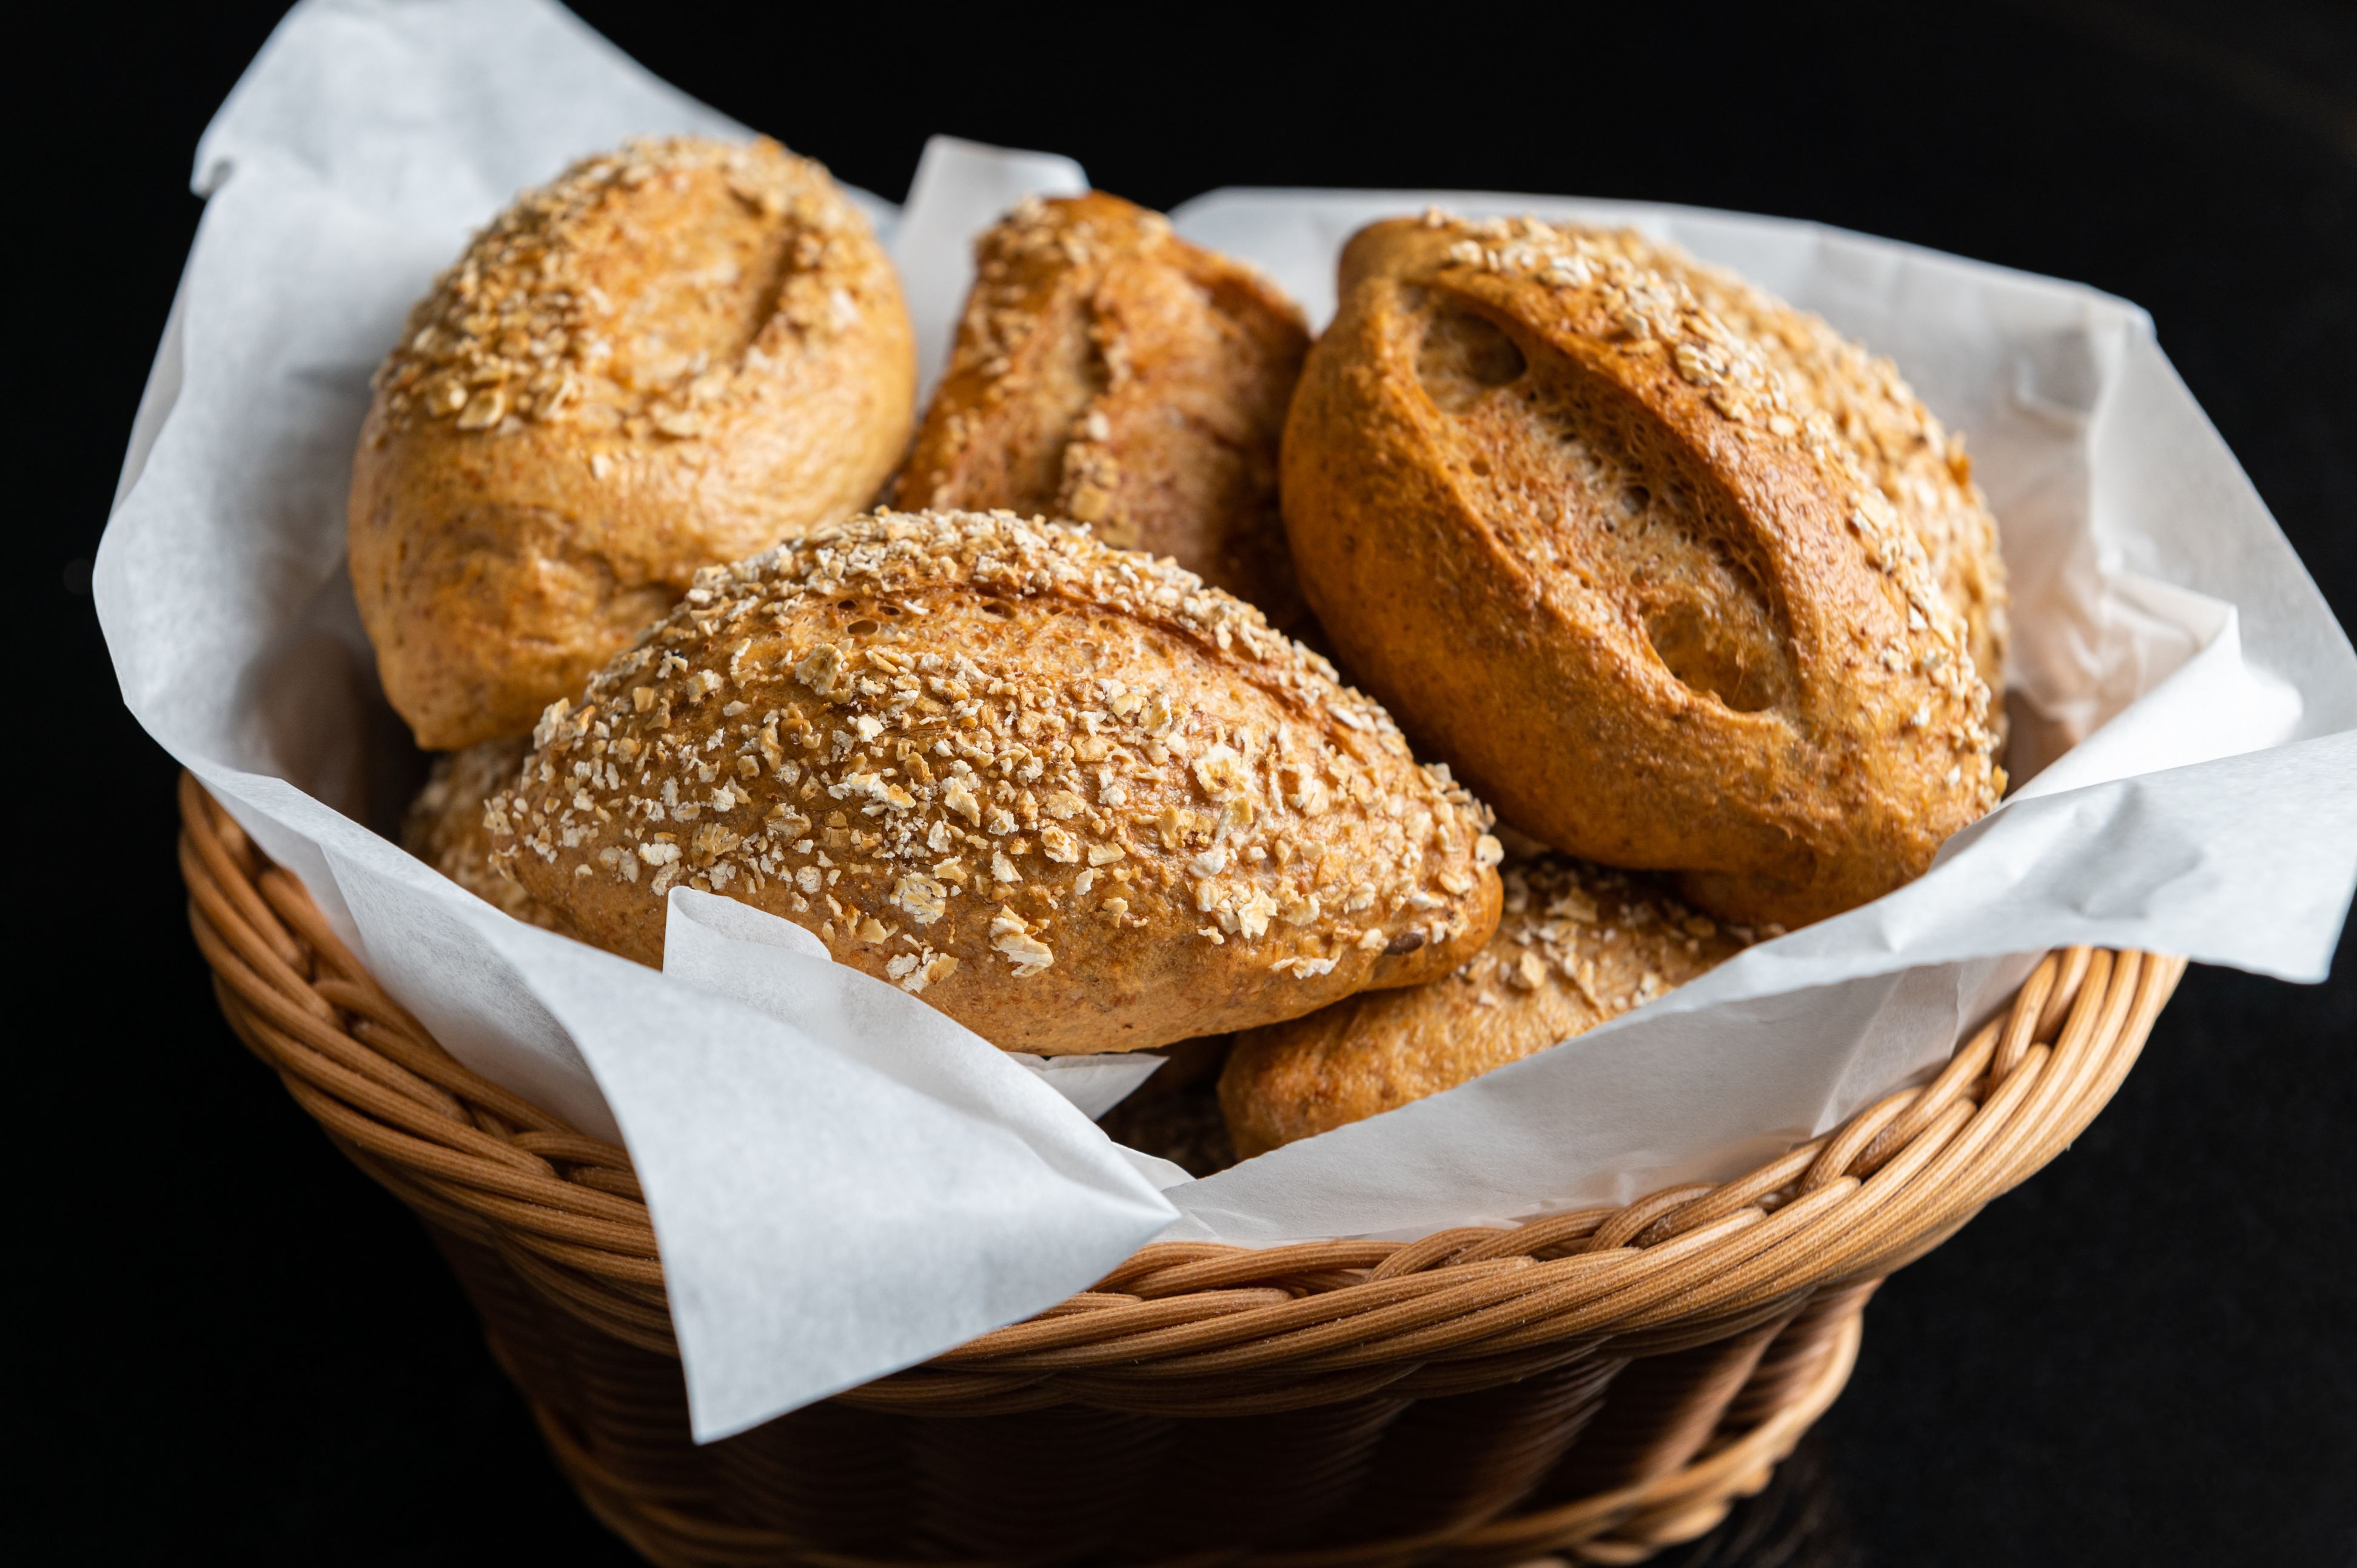
From a handful of flour to a golden, crackling loaf — here's everything that happens in between Bread is one of the oldest foods on earth. Archaeologists have found evidence of bread baking dating back over 14,000 years — long before farming, long before written language. And yet, here we are in 2025, with artisan bakeries popping up across Dubai faster than you can say sourdough. There's a reason bread has never gone away. It's science, craft, and instinct all rolled into one. And once you understand what's actually happening at each stage — the chemistry, the technique, the why behind every step — you stop guessing and start baking with real confidence. Whether you're a home baker looking to level up, or someone curious about turning a passion for bread into a professional path, this guide walks you through all twelve stages of the bread making process. No fluff. Just the craft.
Stage 1: Mise en Place — Gathering Your Ingredients and Tools
.jpg)
Every great loaf starts before you touch a single ingredient.
Mise en place is a French culinary term meaning "everything in its place." In professional kitchens, it's a non-negotiable mindset — and it's just as important when you're baking bread at home.
Before you begin:
- Weigh your ingredients by grams, not cups — baking is a precise science, and volume measurements vary too widely
- Use baker's percentage to understand your recipe ratios (flour is always 100%; all other ingredients are expressed relative to it)
- Set out your tools: mixing bowls, a digital scale, a bench scraper, proving cloths, and a Dutch oven or baking stone
Taking five minutes to organise before you start means no frantic searching for your dough hook mid-knead. It's the difference between a smooth bake and a stressful one.
Stage 2: Mixing — Combining Ingredients Into Dough
.jpg)
This is where bread begins its transformation.
When flour and water meet, two proteins — gliadin and glutenin — combine to form the elastic network we call gluten. At this stage, the dough looks rough and shaggy, but that's normal. You're not developing gluten yet; you're just getting everything evenly incorporated.
Two primary mixing methods:
- Straight dough method: All ingredients are combined at once. Faster, simpler, ideal for everyday breads
- Sponge method: A portion of the flour and yeast ferments first, then is combined with the remaining ingredients. Adds complexity and depth of flavour
Your hydration ratio — the ratio of water to flour — determines the character of your bread. A lower hydration (60–65%) gives you a firm, easy-to-shape dough. A higher hydration (75–85%+) creates the open, irregular crumb you see in sourdoughs and ciabattas.
Stage 3: Kneading — Developing Gluten Structure
.jpg)
If mixing introduces the ingredients, kneading introduces the structure.
When you knead dough, you're aligning and strengthening the gluten network — creating the elastic web that will trap carbon dioxide during fermentation and give your bread its rise and chew.
The classic push-fold-rotate method works well for most doughs. For wetter, high-hydration doughs, the slap-and-fold technique (popularised by artisan bakers) is far more effective.
How do you know when you've kneaded enough?
Do the window test: stretch a small piece of dough between your fingers. If it stretches thin enough to let light through without tearing — like a translucent membrane — your gluten is ready.
Under-kneaded dough = dense, crumbly bread. Over-kneaded dough (rare, but possible with a stand mixer) = tight, tough loaf. Trust the window test.
Stage 4: Autolyse — Resting for Enhanced Dough Quality
.jpg)
This is a stage many home bakers skip — and it's one of the most valuable ones.
Autolyse (pronounced auto-lease) is a simple rest period of 20–60 minutes after mixing the flour and water together, before adding yeast and salt. During this rest, enzymes naturally present in the flour — particularly amylase — begin breaking down starches, and the gluten starts forming on its own.
The result? Dough that is significantly more extensible, easier to shape, and more flavourful — with less kneading required.
Longer autolyse periods (45–60 minutes) work best for whole grain and high-hydration doughs. For standard white breads, 20–30 minutes is usually plenty.
Stage 5: Bulk Fermentation — First Rise and Flavour Development
.jpg)
This is where the magic happens.
Bulk fermentation (also called the first rise or primary fermentation) is the period where your dough rests as a whole, allowing yeast to consume sugars and produce carbon dioxide and ethanol. The CO₂ inflates the dough; the ethanol — along with lactic and acetic acids produced by bacteria — creates flavour.
The ideal temperature range is 24–27°C (75–80°F). In Dubai's warm climate, this stage can move faster than expected — watch your dough, not the clock.
What you're looking for by the end of bulk fermentation:
- Dough roughly doubled in size
- Visibly domed on top
- A gentle jiggle when the bowl is moved (a sign of good gas development)
Rushing fermentation = bland bread. A long, slow ferment (even overnight in the fridge) = complex, deeply flavoured loaves.
Stage 6: Folding — Strengthening Without Overworking
.jpg)
During bulk fermentation, you don't just leave the dough alone.
Folding — done every 30–45 minutes during the first half of fermentation — serves two purposes: it redistributes yeast nutrients throughout the dough, and it degasses large bubbles while building overall dough strength.
Two popular techniques:
- Stretch and fold: Grab one side of the dough, stretch it up, then fold it over the centre. Rotate and repeat on all four sides
- Coil fold: Slide both hands under the dough, lift the centre, and allow the ends to fold underneath — creating a tight coil shape
The goal is strength without tearing. As fermentation progresses, you'll notice the dough becoming progressively tighter and more elastic with each fold — a sign that structure is developing beautifully.
Stage 7: Dividing and Shaping — Forming Your Final Loaves
.jpg)
After bulk fermentation, it's time to divide and shape.
Dividing is exactly what it sounds like — using a bench scraper to portion your dough into equal pieces by weight. Consistency here means consistent baking later.
Pre-shaping comes first: a gentle, loose shaping that creates surface tension on the dough without overworking it. The dough then rests briefly (see Stage 8) before the final shape.
Final shaping is where skill and practice really show. Whether you're forming a batard (oval), boule (round), or baguette, the goal is the same: build surface tension by folding the dough onto itself, creating a tight outer skin that holds its shape in the oven.
A banneton (proofing basket) is your best friend here — it supports the shape and leaves that beautiful spiral impression on your crust.
Stage 8: Bench Rest — Brief Recovery Period
.jpg)
This is the quiet pause between pre-shaping and final shaping — and it matters more than most people realise.
After pre-shaping, gluten is tense and springy. Try to final-shape immediately and the dough will fight you, springing back every time you try to work it. A 15–30 minute bench rest allows the gluten to relax, making the dough cooperative and extensible for final shaping.
Cover the dough lightly with a proving cloth or cling film to prevent a skin from forming on the surface. A skinned dough tears during shaping, which disrupts the surface tension you've worked hard to build.
Stage 9: Final Proofing — Second Rise Before Baking
.jpg)
Final proofing is the second and last fermentation — the dough's final opportunity to develop volume before the oven.
What to aim for: the dough should expand to roughly 1.5 times its shaped size. Not doubled — that would mean over-proofing, which collapses the gluten structure and leads to flat, dense bread.
The poke test is your guide: gently press a floured finger about 1cm into the dough. If the indent springs back quickly → needs more time. If it springs back slowly → ready. If it doesn't spring back at all → over-proofed.
A note for bakers in the UAE: Dubai's warm, humid climate accelerates proofing considerably. Keep a close eye on your dough — what takes 2 hours in a temperate kitchen may take half that here. Many serious bakers use a retarder cabinet (or simply the fridge) for a slow, overnight proof that gives far more control and flavour.
Stage 10: Scoring — Creating Expansion Patterns
.jpg)
Just before the dough enters the oven, it gets scored — and this is one of the most satisfying moments in the entire process.
Scoring (making deliberate cuts in the surface of the dough) controls where the bread expands during baking. Without scoring, steam has nowhere to escape and the bread will burst unpredictably at its weakest point.
Use a bread lame (a curved razor blade on a handle) or a sharp paring knife, held at a 45-degree angle to the dough. A shallow, confident slash is better than a hesitant, deep one.
Beyond function, scoring is an art form. From the simple single slash of a baguette to the elaborate wheat sheaf patterns seen in competition baking, scoring is how a baker signs their work. In traditional UAE communities, distinct scoring patterns once identified which family's bread was which at the communal oven.
Stage 11: Baking — Transforming Dough Into Bread
.jpg)
The oven is where everything comes together — and everything can also go wrong.
The first 10–15 minutes are critical. High initial heat (230–250°C / 445–480°F) causes rapid oven spring — one final burst of yeast activity as the dough heats up before the yeast dies. Steam, either injected professionally or trapped by baking in a covered Dutch oven, keeps the surface of the dough moist and extensible during this expansion phase.
After the initial period, remove the lid (if using one) to allow the crust to set and brown through the Maillard reaction — the same chemical process responsible for the colour and complex flavour of a perfectly golden crust.
How do you know it's done?
- Internal temperature of 88–93°C (190–200°F) — use a probe thermometer
- A hollow sound when you tap the bottom of the loaf
- Deep golden-brown colour across the entire crust
Stage 12: Cooling — Finishing the Baking Process
We know. The loaf looks incredible and smells even better. But please — wait.
Cutting into hot bread is one of the most common mistakes home bakers make. The interior of a freshly baked loaf is still finishing its cooking through carryover cooking, and the crumb structure is literally still setting. Cut too early and you'll get a gummy, doughy texture even from a perfectly baked loaf.
The minimum wait:
- Small rolls: 20–30 minutes
- Standard loaves: 45–60 minutes
- Large sourdoughs: 1–2 hours
Cool on a wire rack to allow air to circulate underneath — a flat surface traps steam and softens the crust you worked so hard to develop.
That crackling sound as the crust contracts while cooling? That's your reward. Savour it.
Want to Learn This With Experts at Your Side?
Reading about bread making is one thing. Feeling the dough respond under your hands is another entirely.
ICCA Dubai's Artisanal Bread Making course is a comprehensive, hands-on 4-day program that takes you from the fundamentals of bread making — working with different flours, understanding ingredient ratios — all the way through to advanced techniques like laminated doughs, sourdough, and professional bread display.
Here's what makes it different:
- Learn under ICCA Master Bakers in a state-of-the-art professional kitchen
- Cover all four days of the curriculum: Introduction to Bread, Rich and Enriched Doughs, Quick Breads and Pre-ferments, and Baking, Finishing and Bread Display
- All equipment, ingredients, protective gear, and recipe cards are provided
- Receive a KHDA-attested Certificate in Artisanal Bread from ICCA Dubai upon completion
Course fee: AED 5,000 (exclusive of VAT), with upcoming intakes in April, May, July, August, October and November 2026


.jpg)
.jpg)
.jpg)


.jpg)